.png)
How to Pack and Move a Kitchen: Everything From Dishes to Appliances
Knowing how to pack and move a kitchen correctly is one of the most important things you can do before any relocation. The kitchen is typically the most time-consuming room in the house to pack — it holds more individual items than almost any other space, many of them fragile, oddly shaped, or both. Dishes crack, glassware shatters, appliances arrive dented, and pantry items leak or spill when the process is rushed or handled without a plan. Do it right and your kitchen is functional within hours of arrival. Do it wrong and you spend your first week eating takeout while sorting through broken plates and missing lids.
Need a professional team to handle the packing for you? Call Cullen Moving and Storage LLC at 1 (215) 327-9733 — we pack, transport, and unload every kitchen item with the care and technique that prevents damage and saves you hours of frustration.
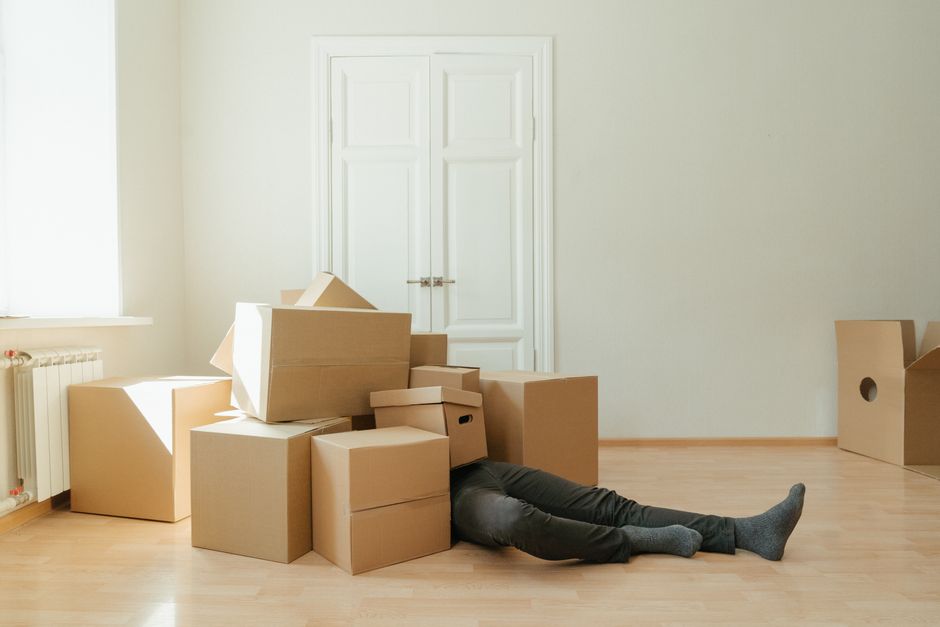
The kitchen move fails most often not because people are careless, but because they underestimate the sheer volume of what needs to be packed. The average kitchen contains dozens of dishes, multiple sets of glasses, a full drawer of utensils, several large and small appliances, an entire pantry of food, and a collection of pots and pans that seem to multiply every time you open a cabinet. Treating each category differently — because each one has different packing requirements — is the key to arriving at your new home with everything intact.
Start by Decluttering the Kitchen Before You Pack a Single Box
The worst mistake you can make when packing a kitchen is packing everything without thinking. The kitchen is where clutter accumulates silently over years — the appliance you used twice, the duplicate can opener, the eleven mismatched mugs. Moving all of it costs you in boxes, weight, and unpacking time on the other end.
Go Through Every Cabinet and Drawer
Open every cabinet and every drawer before you reach for a single piece of packing paper. Pull items out and evaluate them honestly. Anything broken, missing a lid, or unused in the last year is a candidate for donation, recycling, or disposal. This is also the moment to check pantry items for expiration dates — moving expired food is a waste of box space and weight.
Separate What You Will Need Until Moving Day
Set aside a small "last to pack" kit of the essentials you will need for cooking and eating in the days before the move: one or two plates, a bowl, a mug, a pot, basic utensils, and a cutting board. Pack these last and load them into your personal vehicle or mark the box clearly for first access at the new home. Packing everything five days out and then living on paper plates is unnecessary when a little planning keeps the essentials available.
How to Pack Dishes, Glasses, and Fragile Items
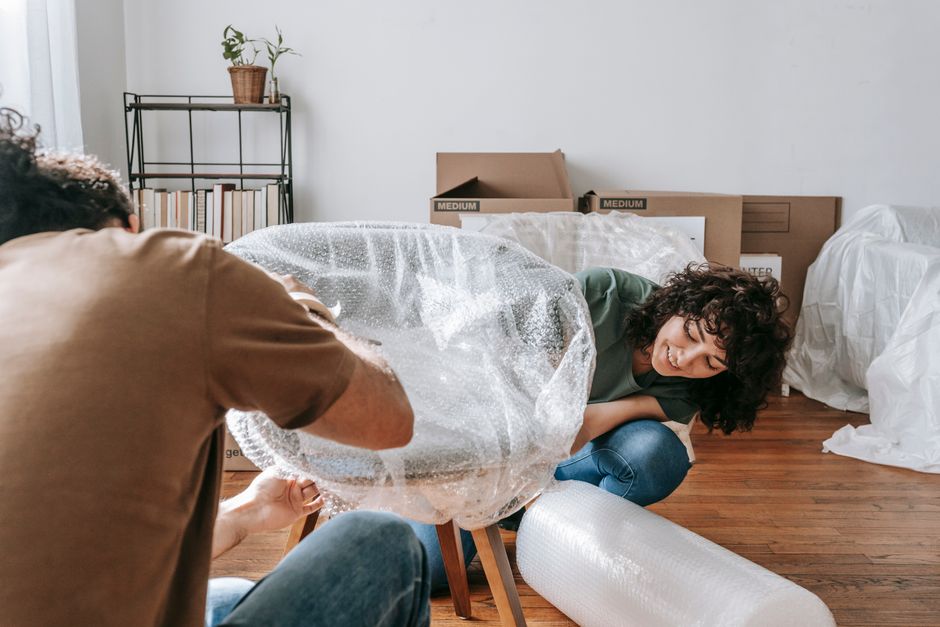
Fragile kitchenware is the category that causes the most stress — and the most damage — in a kitchen move. Packing it properly requires specific materials and techniques that are different from how you would pack books or clothing.
Use Cell Boxes for Glasses and Stemware
Glasses and stemware are most safely packed in cell divider boxes — also called dish pack boxes with cardboard inserts that give each glass its own compartment. If cell boxes are not available, wrap each glass individually in two to three sheets of packing paper, starting at the base and rolling upward while tucking the open end inside. Never stack glasses rim-down without padding between them. Place heavier glasses at the bottom of the box and lighter, more delicate stemware near the top.
Wrap Every Dish Individually
Plates and bowls should be wrapped individually in packing paper and packed vertically — on their edges — rather than stacked flat. Dishes stacked flat concentrate the weight of every item above onto the one below; dishes standing on their edges distribute impact along the rim and are significantly less likely to crack during transit. Place a generous layer of crumpled paper at the bottom of the box before the first dish goes in, and fill any remaining gaps at the top before sealing.
Protect Pots, Pans, and Lids
Pots and pans are durable but not indestructible. Non-stick coatings scratch easily when pans are stacked bare. Place a layer of packing paper or a folded dish towel between each pan when nesting them. Lids should be wrapped separately or packed together in a lightly padded box — avoid letting them rattle loose inside a box with heavy pots, which can cause chips and cracks.
How to Pack Small and Large Kitchen Appliances
Kitchen appliances range from a handheld can opener to a 50-pound stand mixer, and each one needs to be handled differently. The common thread across all appliances is that their original boxes — if you still have them — are by far the safest packing option. If you do not, the steps below will protect most appliances through a standard move.
Pack Small Appliances Securely
Toasters, coffee makers, blenders, air fryers, and similar small appliances should each be wrapped in packing paper or bubble wrap and placed in a box with padding on all sides. Remove any detachable parts — toaster trays, blender jars, coffee carafes — and wrap them separately. Cords should be coiled and taped or secured with a twist tie, then placed in the same box as the appliance rather than loose in a separate box where they will get mixed up.
Prepare Large Appliances for the Move
Stand mixers, large food processors, and countertop ovens are heavy enough to cause injury if handled without planning. For any appliance over roughly 20 pounds, secure all moving parts with painter's tape or foam padding before wrapping. If the bowl or attachments are removable, pack them separately in a clearly labeled box. Never leave a stand mixer bowl loose in the same box as the base — the weight shift during transport can crack both pieces.
Handle Built-In and Freestanding Appliances Separately
Full-size appliances like refrigerators, dishwashers, and ranges require preparation that goes beyond packing. A refrigerator should be emptied, defrosted, and allowed to dry completely at least 24 hours before the move. Secure the doors with moving straps or rope rather than tape that can leave residue. A gas range must be disconnected by a licensed professional before transport — never attempt to disconnect a gas line yourself. These are items where professional movers or licensed tradespeople add real value and prevent real risk.
How to Pack the Pantry and Handle Food Items
The pantry is the part of the kitchen that most people handle last and least carefully — and it shows when boxes of cereal arrive crushed and a bottle of olive oil has coated everything within reach. A deliberate approach to food packing prevents most of these problems.
Decide What Is Worth Moving
Perishable food — anything that requires refrigeration or will not survive a few hours without it — should generally not be moved unless the distance is very short. Use up or donate refrigerator and freezer contents in the weeks before the move. For pantry items, assess honestly: a half-used bag of flour or a near-empty jar of spices may cost more to pack and carry than it is worth to replace.
Pack Non-Perishables Safely
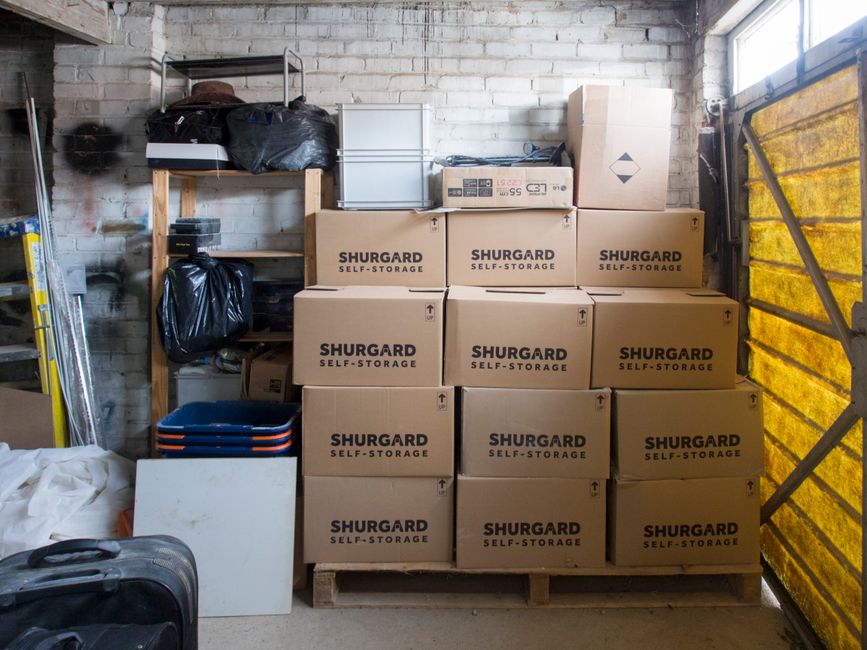
Canned goods are heavy — pack them in small boxes only, never in large boxes where the combined weight becomes unmanageable and the bottom risks giving out. Glass jars should be wrapped individually in packing paper and surrounded by padding. Any liquid-containing container — cooking oil, soy sauce, vinegar — should be placed in a sealed zip-lock bag before being packed in a box, so a loose lid does not become a catastrophe.
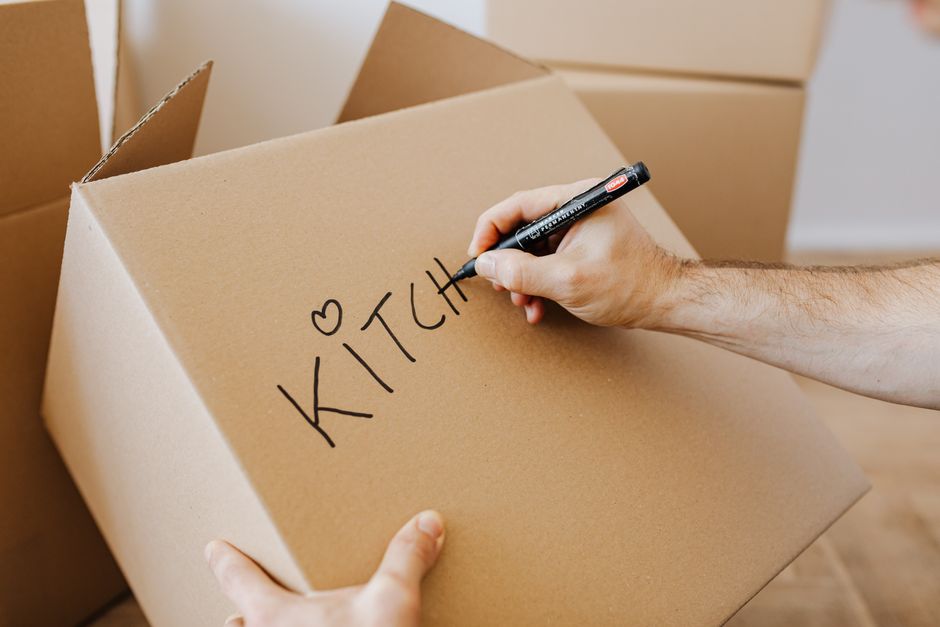
Label Every Box With Room and Contents
A kitchen generates more boxes than almost any other room in a home. Unlabeled boxes are one of the single biggest sources of frustration on unloading day — especially in the kitchen, where you need to find a specific item quickly and the boxes all look identical. Label every box on at least two sides with the room ("Kitchen") and a brief description of what is inside ("Dishes — fragile" or "Pantry — canned goods"). Mark fragile boxes clearly on every side, not just the top, because boxes are frequently turned sideways during loading and unloading.
If you are working with a professional moving team, clear labeling also tells the movers exactly where every box goes in the new home without requiring you to supervise each trip. It is one of the simplest things you can do that has a disproportionate impact on how smoothly unpacking goes.
Get Professional Help When the Kitchen Is Too Much to Handle Alone
A full kitchen pack can easily take six to ten hours for a household that has never done it before — and that estimate does not account for the time lost to broken items, poorly labeled boxes, or last-minute trips for more packing supplies. Professional movers who offer packing services bring the materials, the technique, and the speed to pack an entire kitchen in a fraction of that time with a much lower risk of damage.
Cullen Moving and Storage LLC serves homeowners and renters throughout the Philadelphia area and Delaware County with full-service moving and packing solutions. Whether you need a team to pack the whole house or just the kitchen and fragile items, we bring the expertise to protect what matters most. Get a free quote and find out how we can make your kitchen move the easiest part of your relocation.